Here are the items that we found.
Blog

May 19, 2026
Darts: 6 Tips for a Cleaner Finish
I originally wrote these tips while working on instructions for a pair of pants that had a lot of darts. The design changed, the pants now have a much more...

Apr 13, 2026
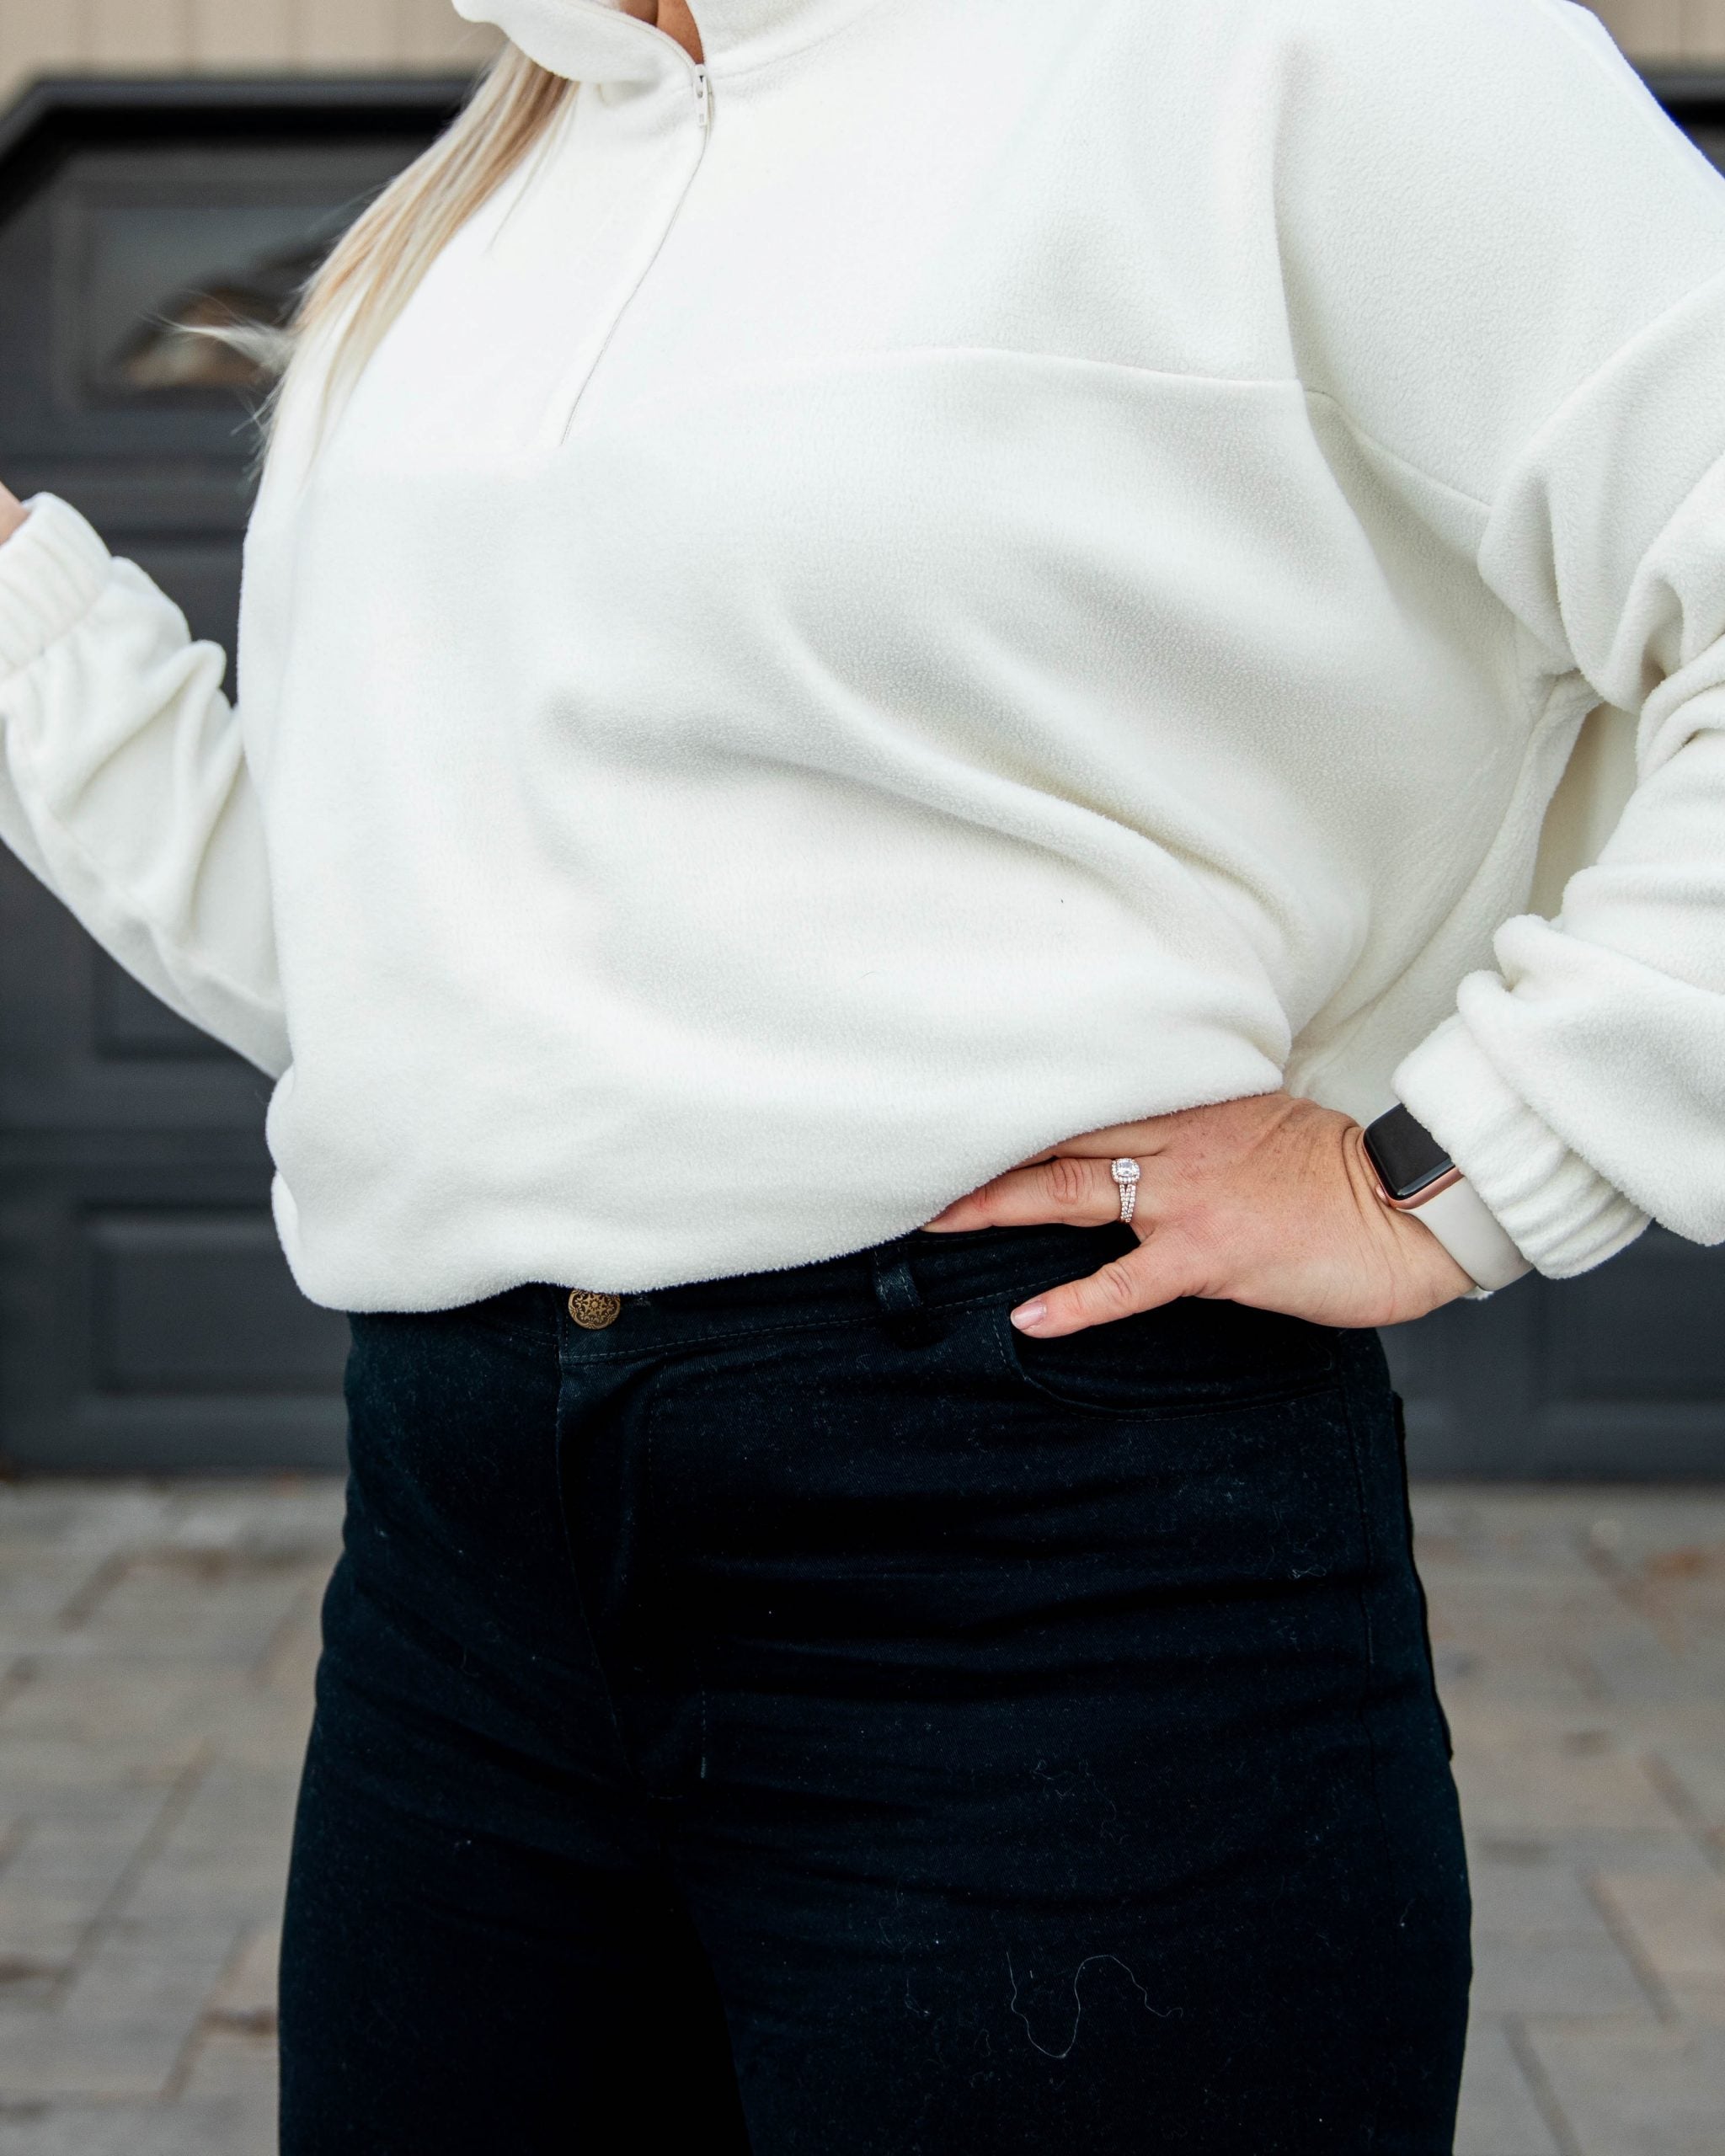
FBA for Knit Garments
My knit patterns no longer include cup sizes. For this kind of garment, separate cup options often create more complexity than benefit. More pattern pieces, more decisions, and not always...

Mar 23, 2026
Tabitha Tank 2.0
Here for the free pattern? Jump to the email signup at the end of this post. The Tabitha Tank has officially had its glow-up! This pattern started as a simple...

Sep 04, 2025
Alex - Long Sleeve Top
This one wasn’t in the plan, but sometimes curiosity leads to the best makes. After sewing a stack of Alex Sweatshirts, I wondered what would happen if I skipped the...
Aug 19, 2025
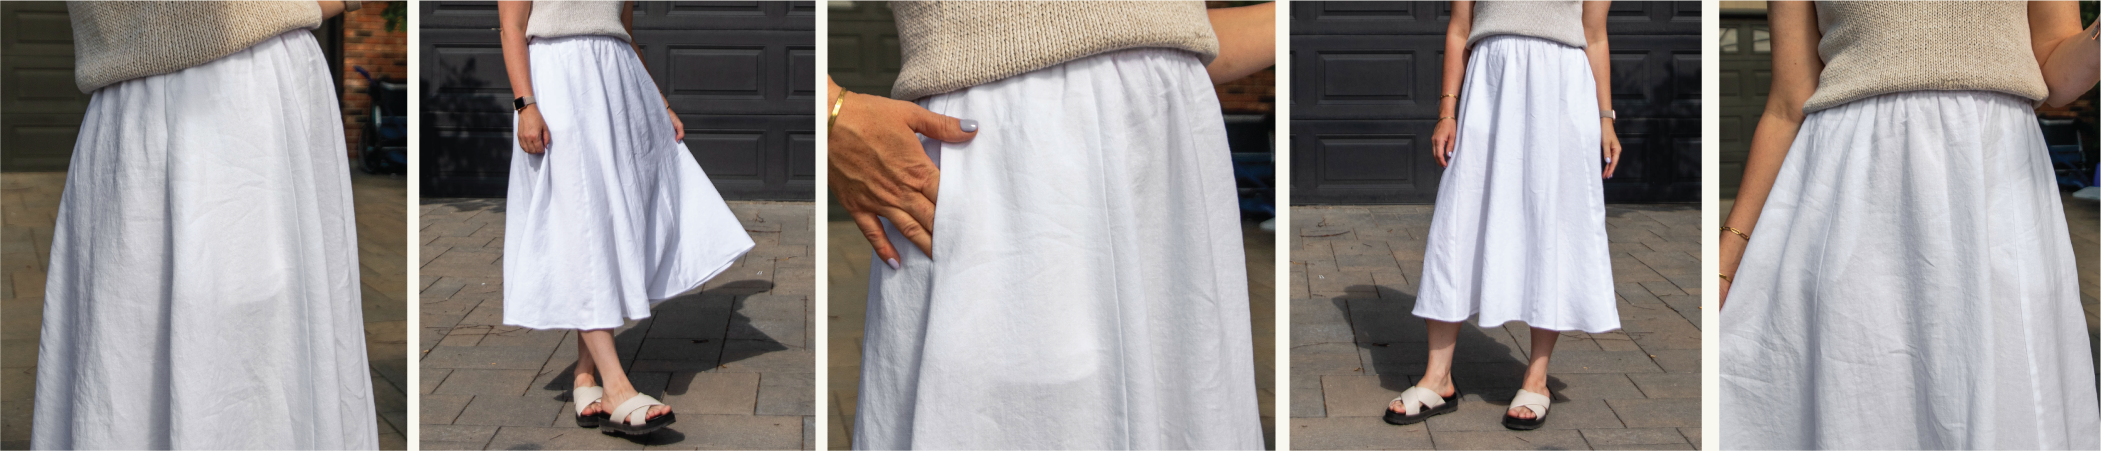
Elise Skirt with Inseam Pockets (+Free Download!)
A few weeks ago, I became completely fixated on the idea of a long white skirt. Like, had-to-have-it levels of obsession. Naturally, I turned to the Elsie skirt pattern and...
Aug 06, 2025
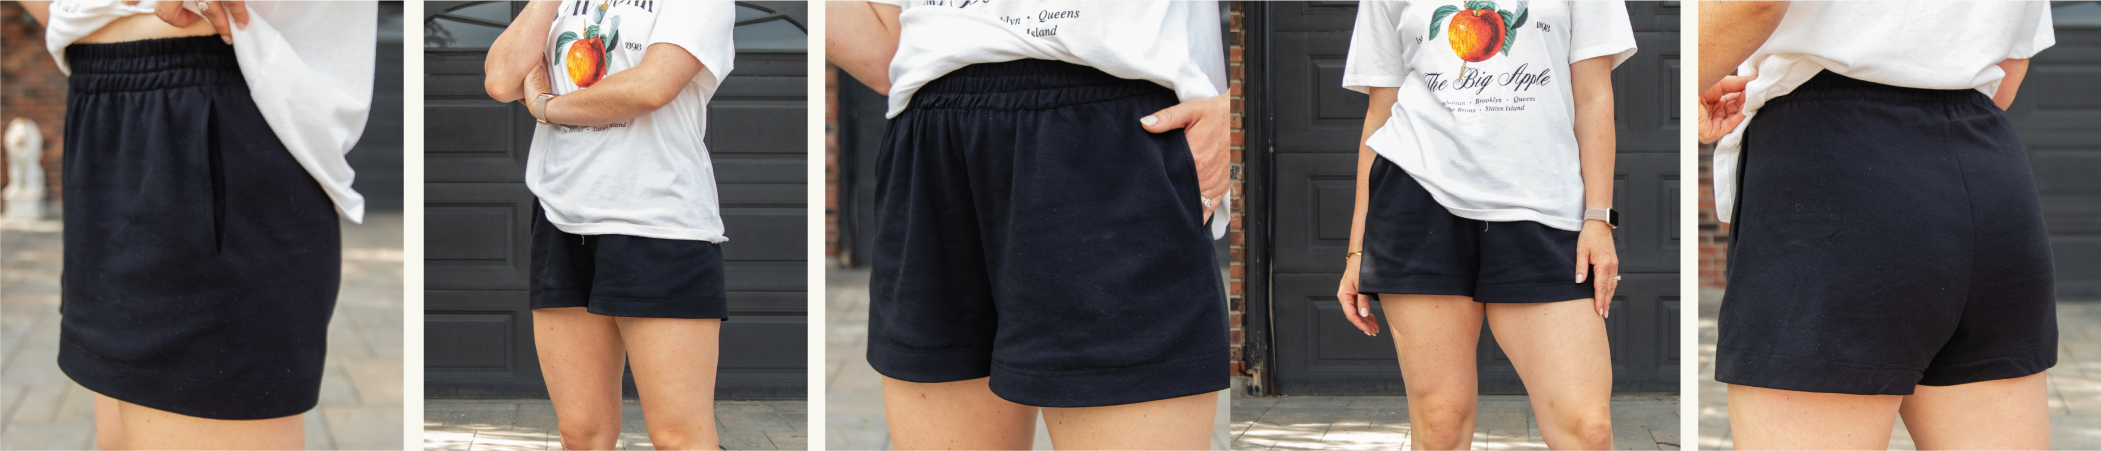
Jordan Shorts
It is technically still summer. Although the weather in Calgary seems to be having issues with it and summer is still loading. Hopefully. Either way, it’s the perfect time to...
Jul 22, 2025
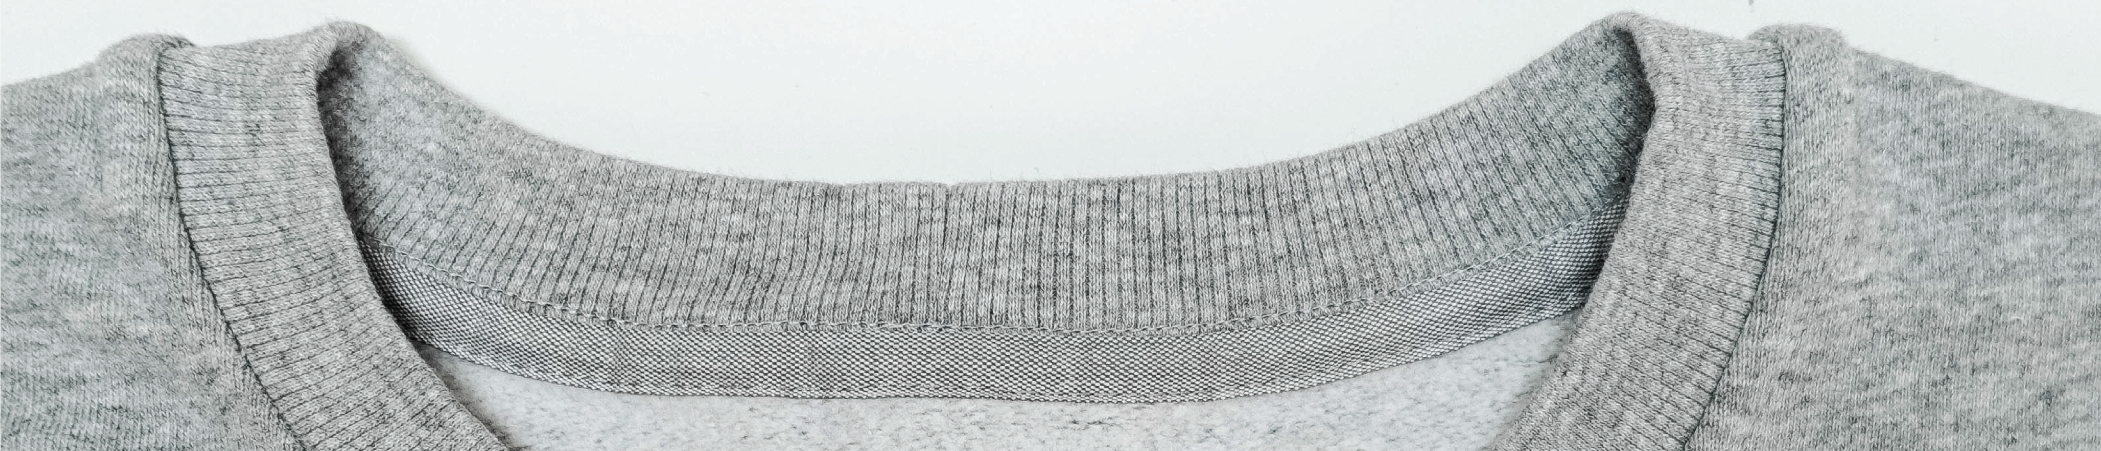
How to Sew a Clean Neckline on Tees and Sweatshirts
Some days when I’m sewing a t-shirt or sweatshirt, I like to add an extra special touch with a bound back neckline. There’s absolutely nothing wrong with leaving it unbound....

Jun 27, 2025
Orla Refresh: Sleeveless Bodice, Waistband and Box Pleats Drafting Tutorial
Apparently, people are still referring to the Sleeveless Orla tutorial I wrote back in 2017, which is both surprising and extremely lovely. Thank you! Unfortunately, when I moved my website...

Jan 09, 2025
thoughts
Sewing Reflections
As I reflect on my sewing journey in 2024, I feel that this past year has been all about sewing with more intention. With limited time, I've had to approach...

Aug 25, 2023
Elsie Skirt - Now in Sizes 0-34!
I am so excited! Finally, the Elsie skirt is now available in extended sizing - it comes in sizes 0 to 34. Whoop whoop! That is up to 65.5” (166.5...
Aug 25, 2023
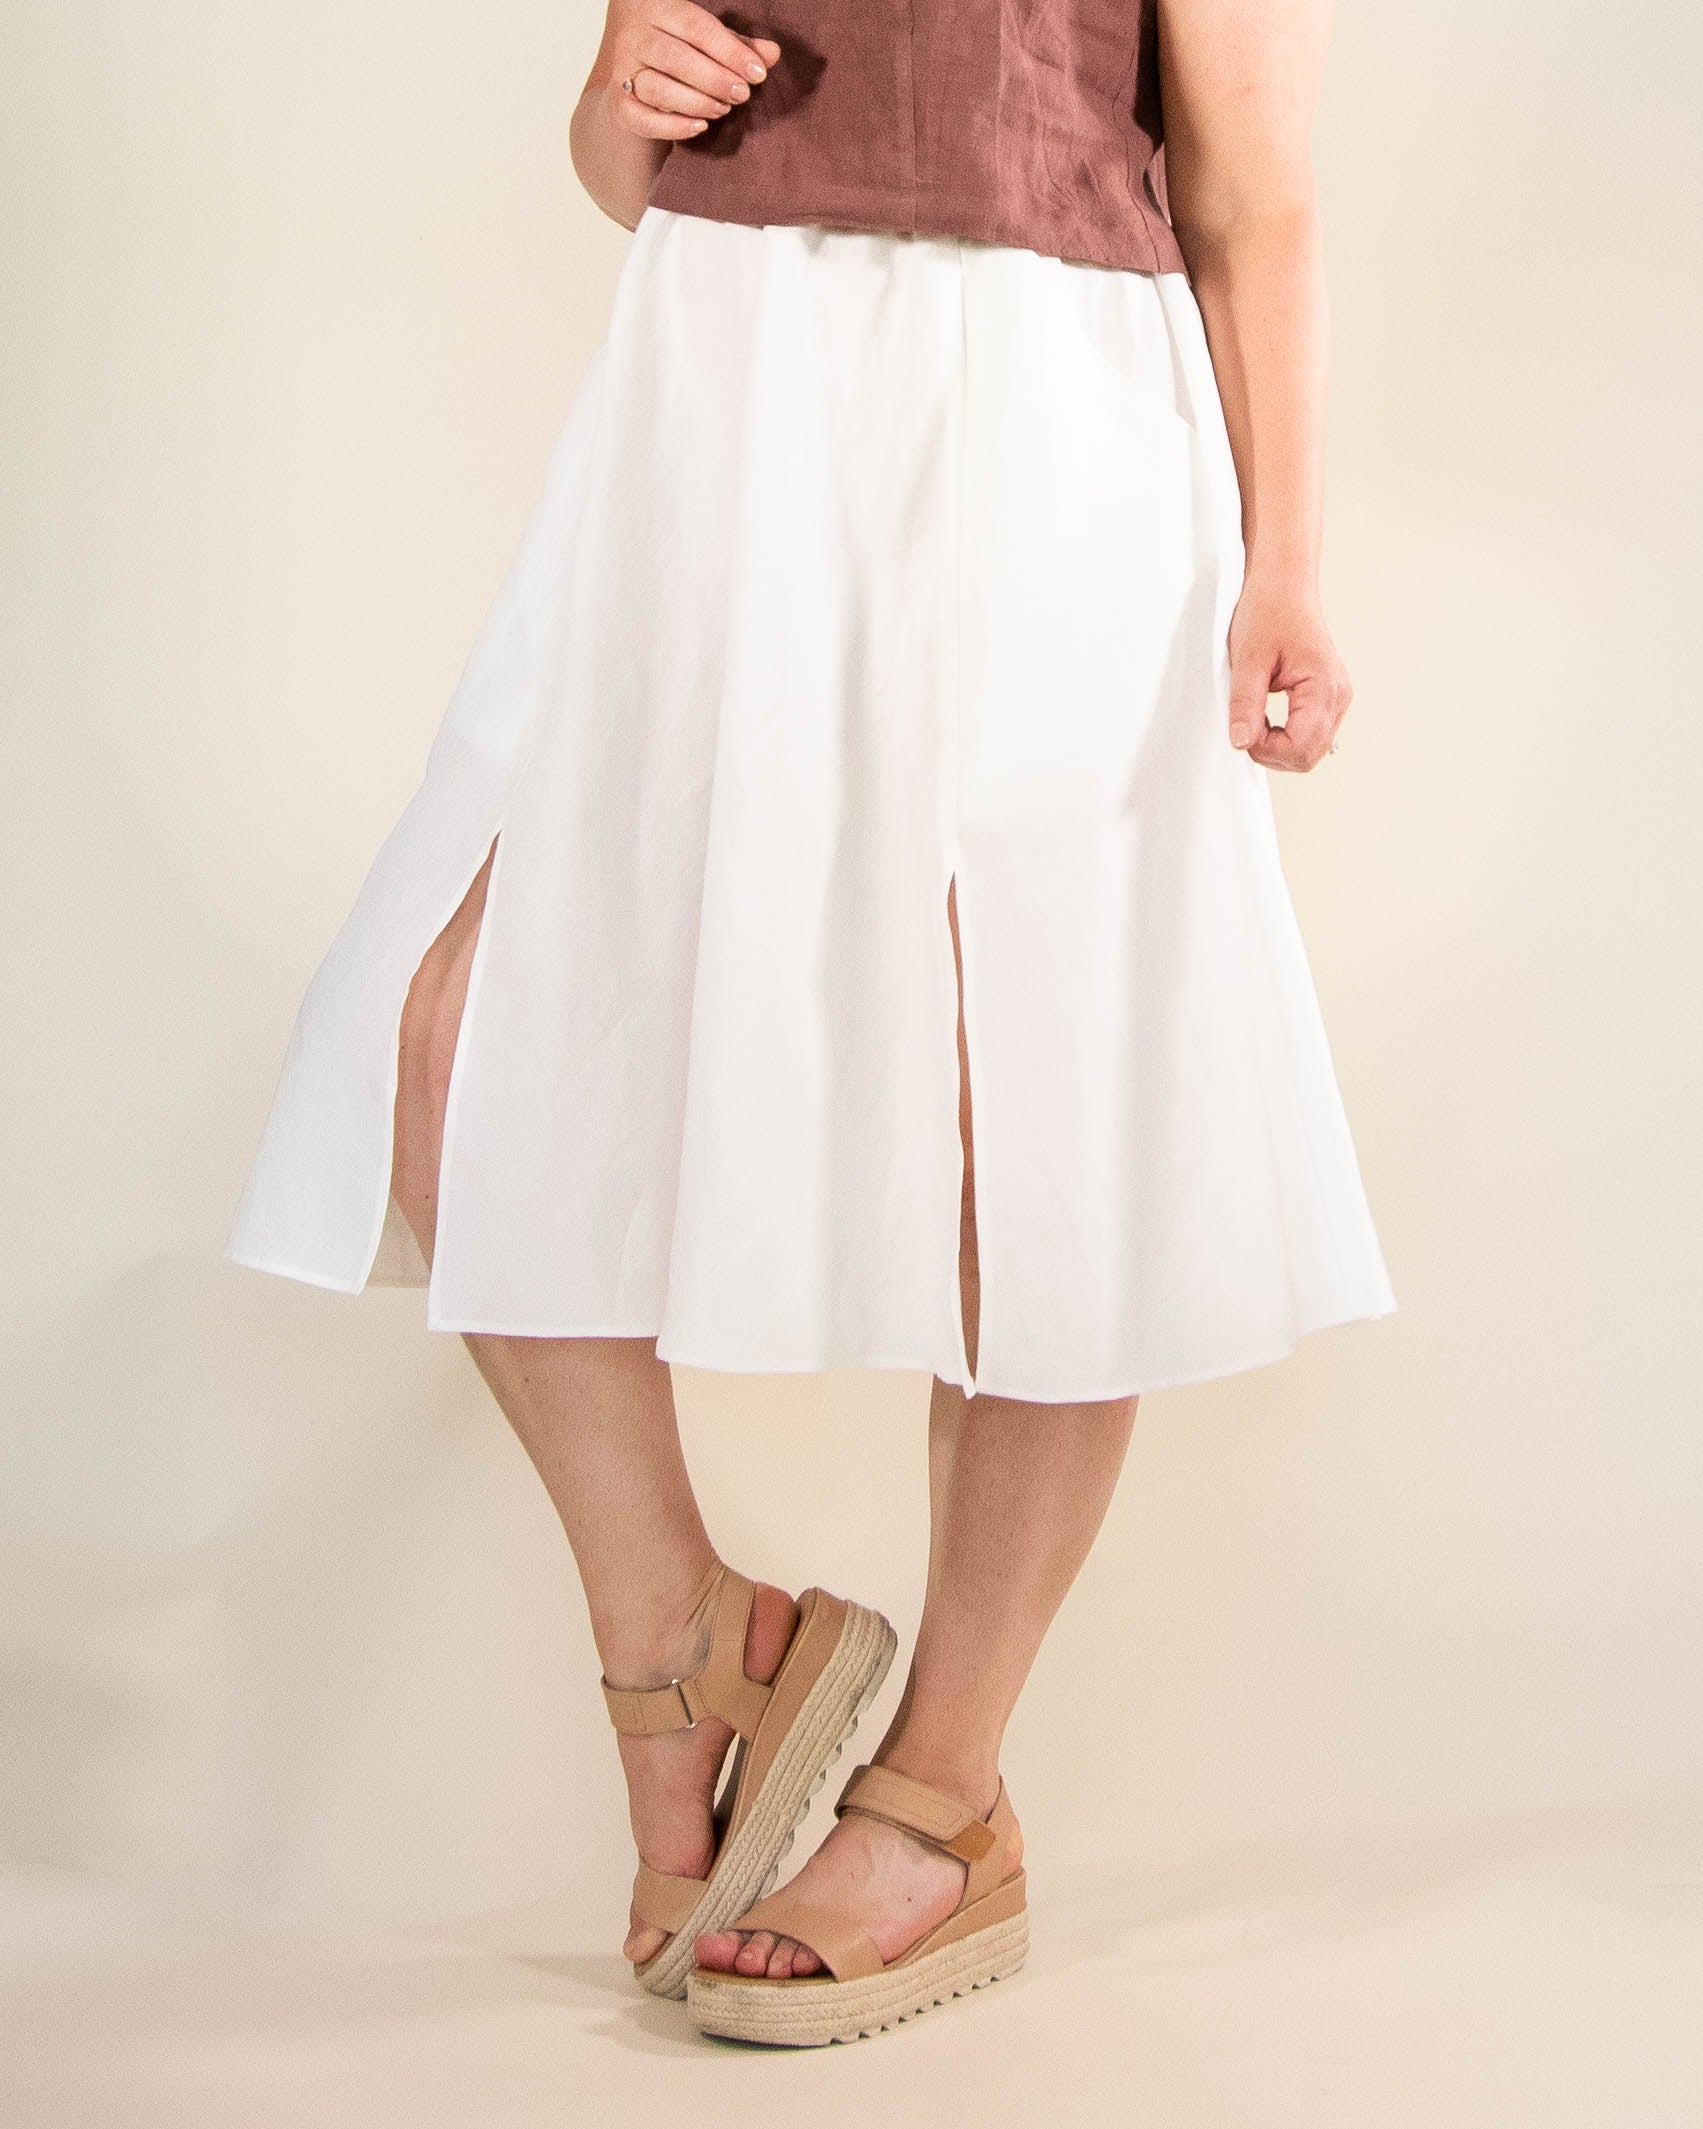
Elsie Skirt with Slit Openings
When Elsie skirt was just an idea in my head, I envisioned View A of the skirt with two slits at the front. In fact, that is what the original...
Jan 07, 2023
Category_Tutorial
Tutorial: Ash Jeans - Adding Rise
After I made my first pair of Ash jeans, I realized the rise on them was not high enough for me. I wanted to add ~1.5” (3.8cm) to it so...