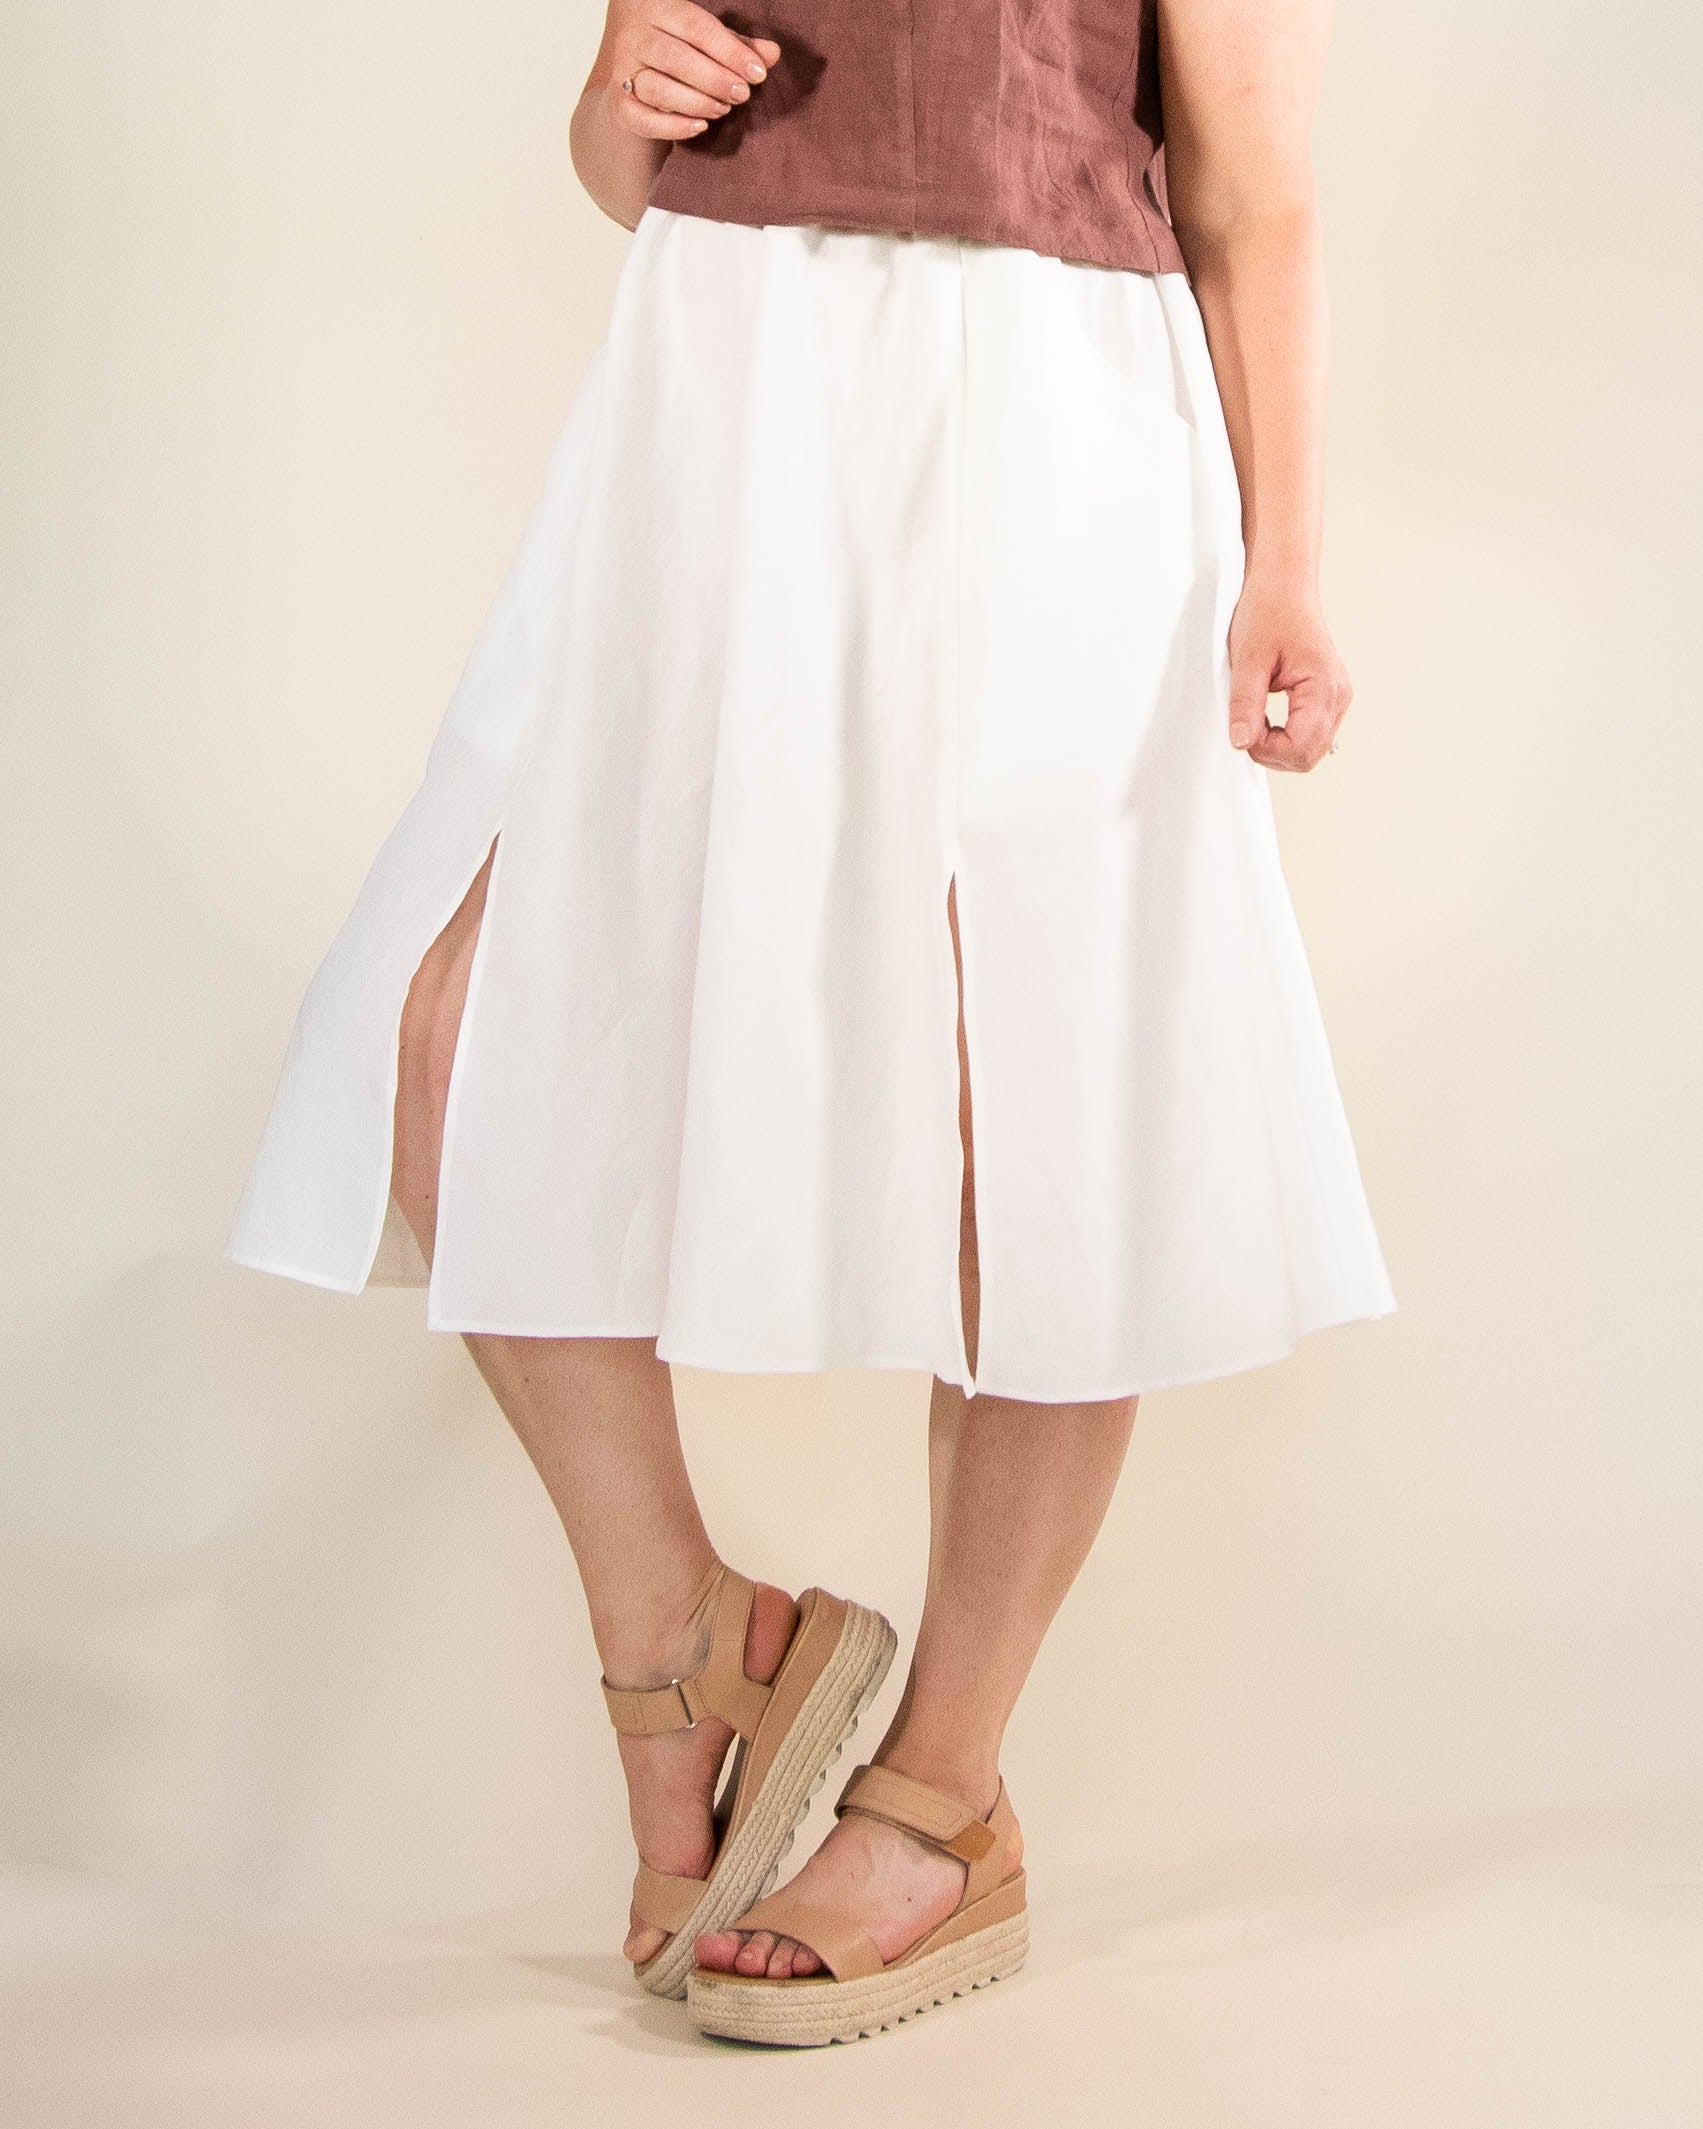
When Elsie skirt was just an idea in my head, I envisioned View A of the skirt with two slits at the front. In fact, that is what the original pattern was. But as I was updating it with expanded sizing, I decided to change View A into a basic pull on skirt without slits. Somehow, a couple years after the release of the original skirt, no slit option felt fresher. But of course I need to provide instructions on how to add the slits to the skirt. The best part is you can do whatever you want with them! You can raise them higher or lower them. You can leave just one slit on either left or right side. It is completely up to you. You also do not need to make any changes to the pattern whatsoever, isn't it awesome?

Follow the instructions up to step 3 - Front Panel Seams. Once you get there, follow the steps below instead to sew up the skirt with slit openings.

1. Finish seam allowances of the side front and center front pieces separately.
You do not need to finish seam allowances past the bottom notch.

2. With right sides together and matching notches, pin and sew the side fronts to the center front, starting/stopping at the notch. Make sure to backstitch at the notch.

3. Press seam allowances above the bottom notch onto the skirt front. Press the seam allowances below the notch open while pressing the ½” (1.3 cm) seam/hem allowances along both sides of the slit opening to the wrong side of the center front.

4. Turn the seam allowances around the front slits ¼” (0.6 cm) to the wrong side. Press. Turn another ¼” (0.6 cm). This turn should line up with pre-pressed lines from step above. Press again if needed.
The seam/hem allowance at the top of the slit opening will not press open nicely, as above this point seam allowances are pressed to the front. That is okay, just do your best. Once the topstitching is done everything will be secured in place.

5. Pin the seam allowances in place and topstitch.
This is a good time to check each slit opening to make sure they are the same length. If one side of a slit opening is longer than the other, trim excess so that everything is the same length.

6. Place a vertical bartack at the top of the slit opening to reinforce it.
Vertical bartack is not your only option to reinforce this area. Instead you can place a horizontal bartack, a triangle finish, or use any other decorative stitch on your machine.
At this point, continue onto Step 3b in the instructions. Once you get to Step 5, hemming, you will be hemming the skirt in two steps. First, hemming the back and side fronts and then the center front, or the other way around.

Before topstitching thought, make sure to double check the hems around the slit opening to make sure they look neat, trim excess fabric if necessary and re-pin.
That's it! That wasn't difficult at all, was it?


Leave a comment
This site is protected by hCaptcha and the hCaptcha Privacy Policy and Terms of Service apply.